





Why selfies go wrong
Most bad selfies share one problem: the free hand has nowhere to go, so the whole body stiffens around the phone. The face tightens, the shoulders rise, and the photo reads as a photo being taken rather than a moment.
Every pose below gives that hand a job. Once it has one, the shoulders drop, the chin finds its angle and the expression relaxes on its own.
The first four are arm’s-length selfies: hold the phone a little above eye level, never below it. The last four are mirror selfies, where the phone is part of the picture and the whole outfit is in frame.






Chin rest
Make a loose fist and rest your chin on the knuckles, elbow tucked down toward your body, while the other arm holds the phone out at arm’s length.
The fist supports the chin rather than pushing it; keep the jaw soft so the face stays relaxed.
Tilt your head a few degrees toward the resting hand. Eyes to the lens, and let the smile come late.
 GuideShot
Hair touch
Slide the fingers of your free hand into the hair at the temple, as if pushing it back, and stop halfway.
Let the elbow open out to the side: the raised arm frames your face and gives the shot its shape. Keep the fingers loose rather than gripping.
A closed-mouth smile suits this one. Eyes to the lens, chin level.
 GuideShot
Crown rest
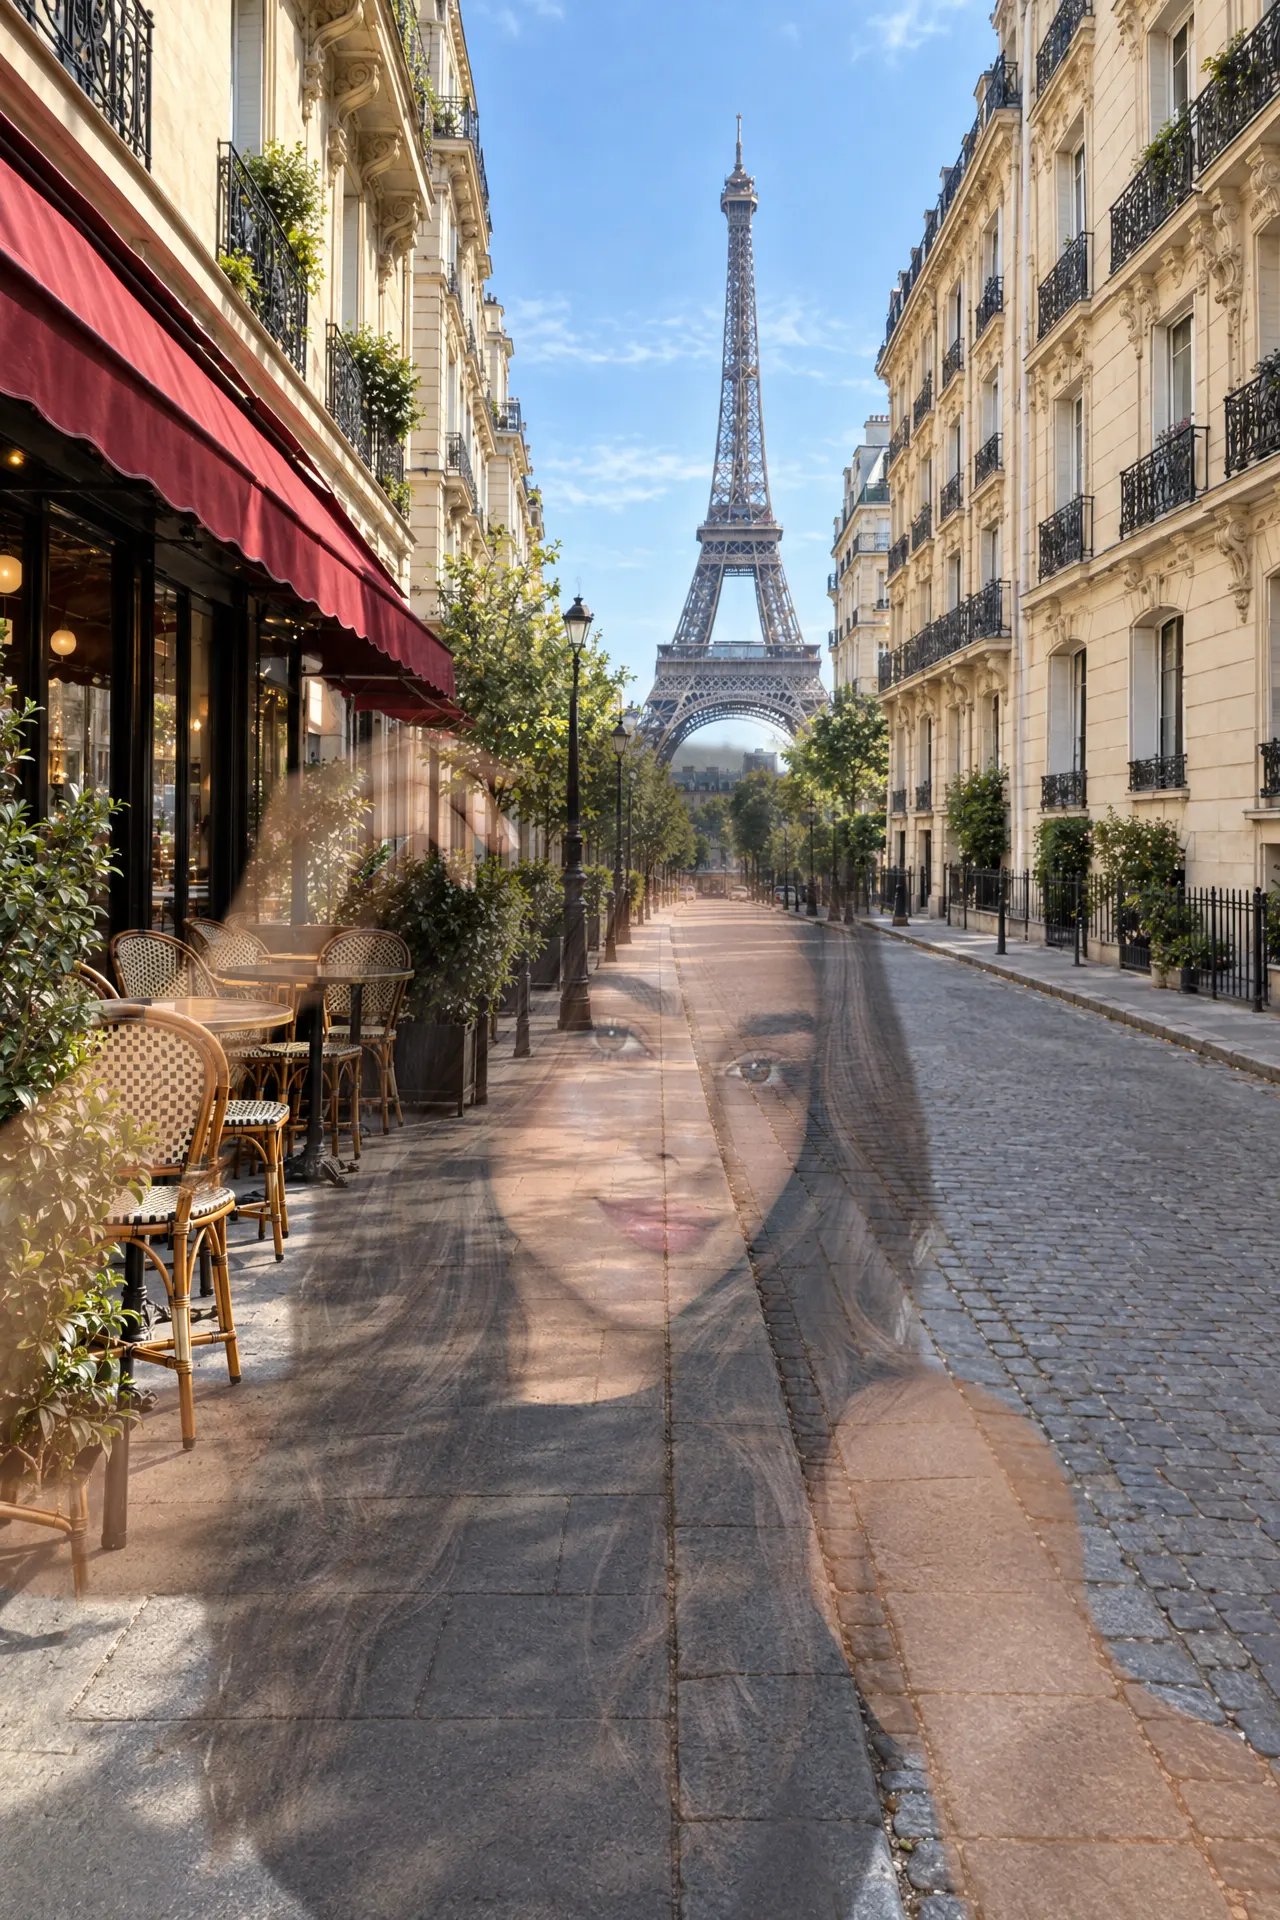
Rest your free hand on top of your head, fingers in the hair, and let the elbow drop down beside you so the arm frames one side of your face.
Keep the hand light rather than pressing the hair flat.
Hold the phone a little higher than usual and look straight into the lens.
 GuideShot
Top angle
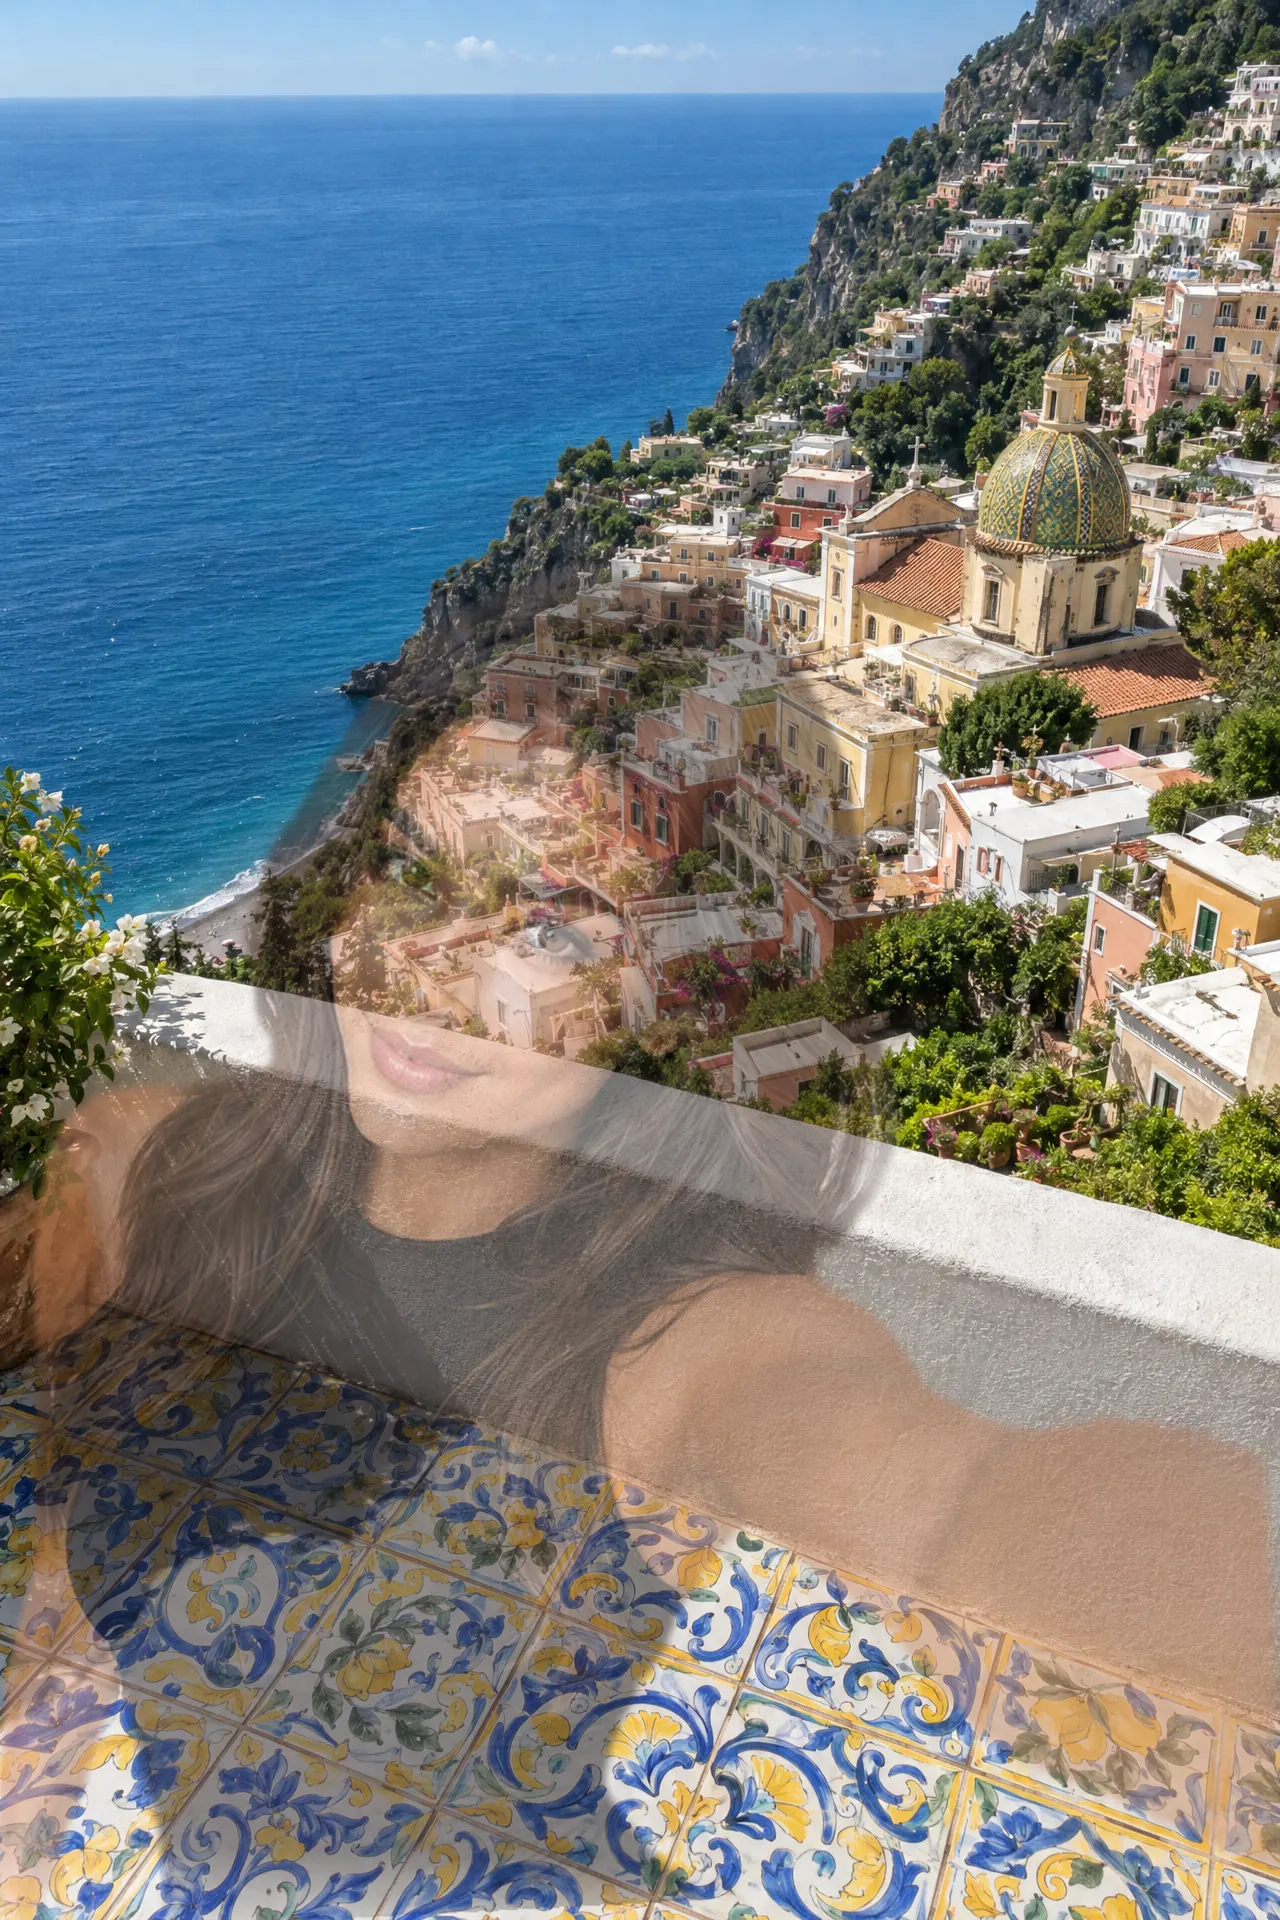
Hold the phone up and out as far as your arm goes, above eye level, and angle the screen down toward you.
Tip your chin up slightly to meet the lens and let your free arm drop out of frame.
Look straight into the camera. From above, the eyes carry the frame.
 GuideShot
Mirror crown
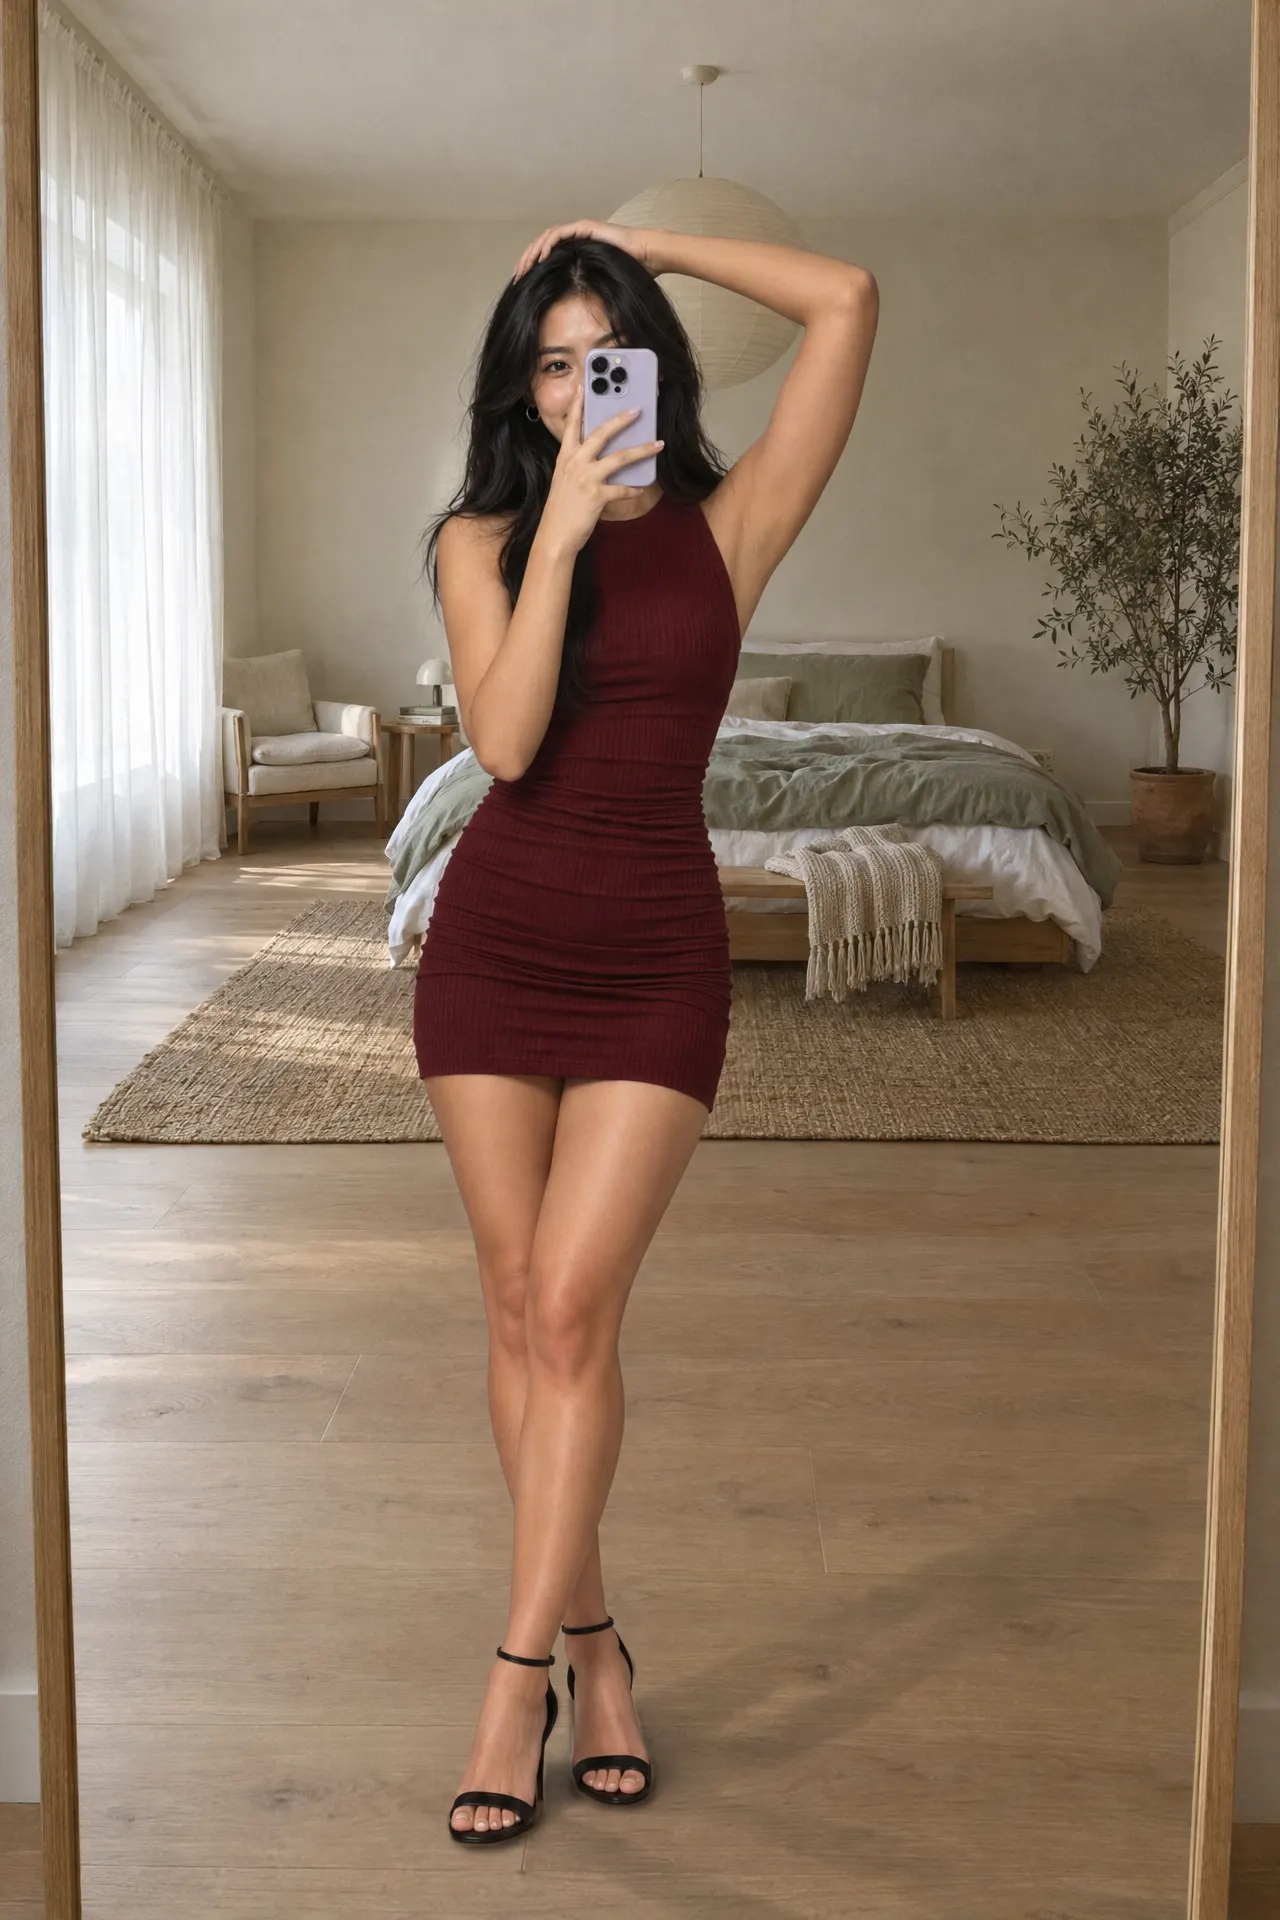
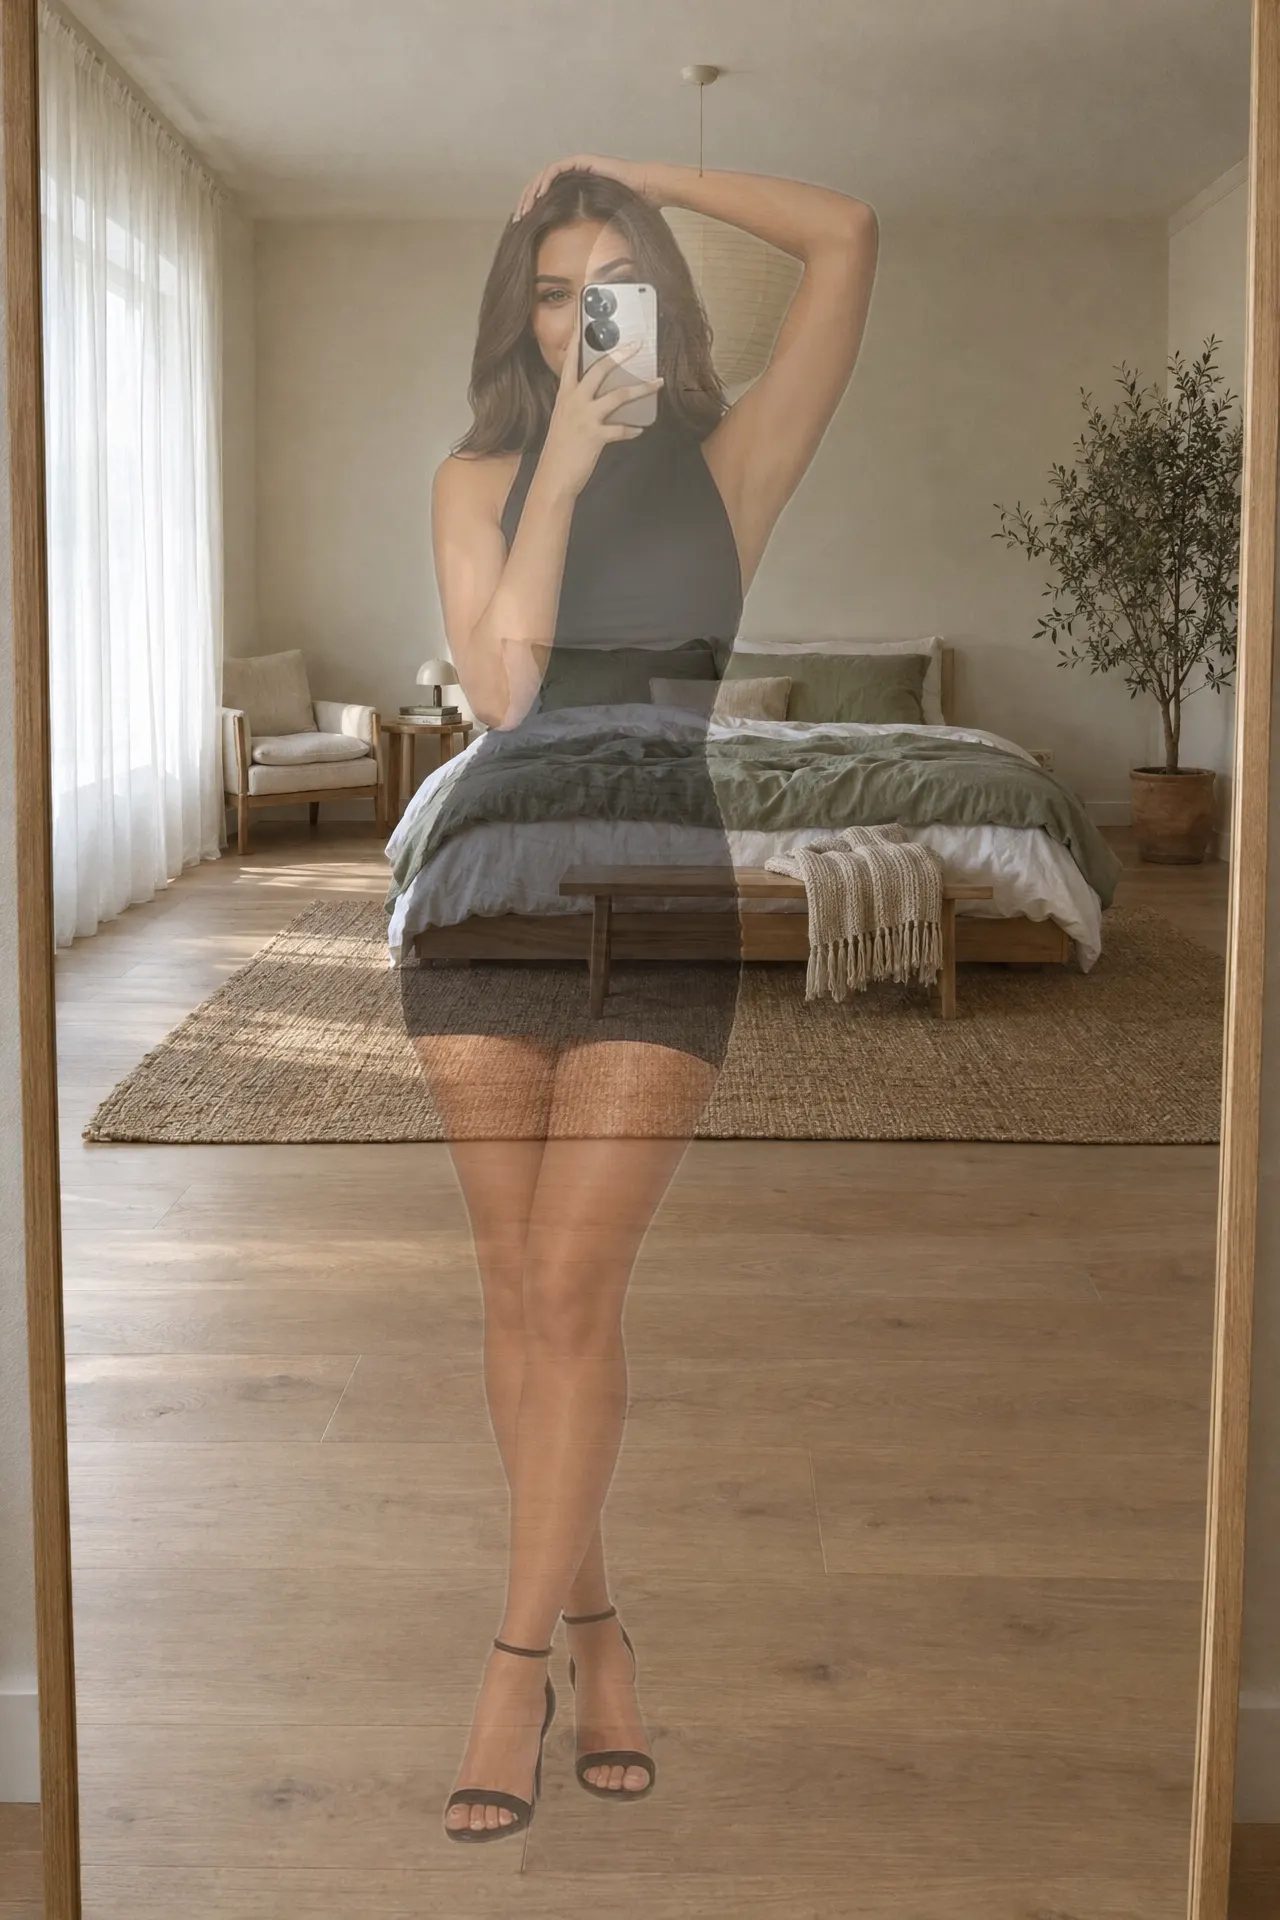
The first of four mirror selfies. Stand a step back from a full-length mirror, hold the phone in front of your face with one hand, and rest the other hand on top of your head.
Cross one ankle over the other so your weight settles on one leg. The raised elbow and the crossed feet give the full-length frame its line.
Keep the phone over part of your face, not all of it: one eye and your smile should stay in the reflection.
 GuideShot
Mirror side
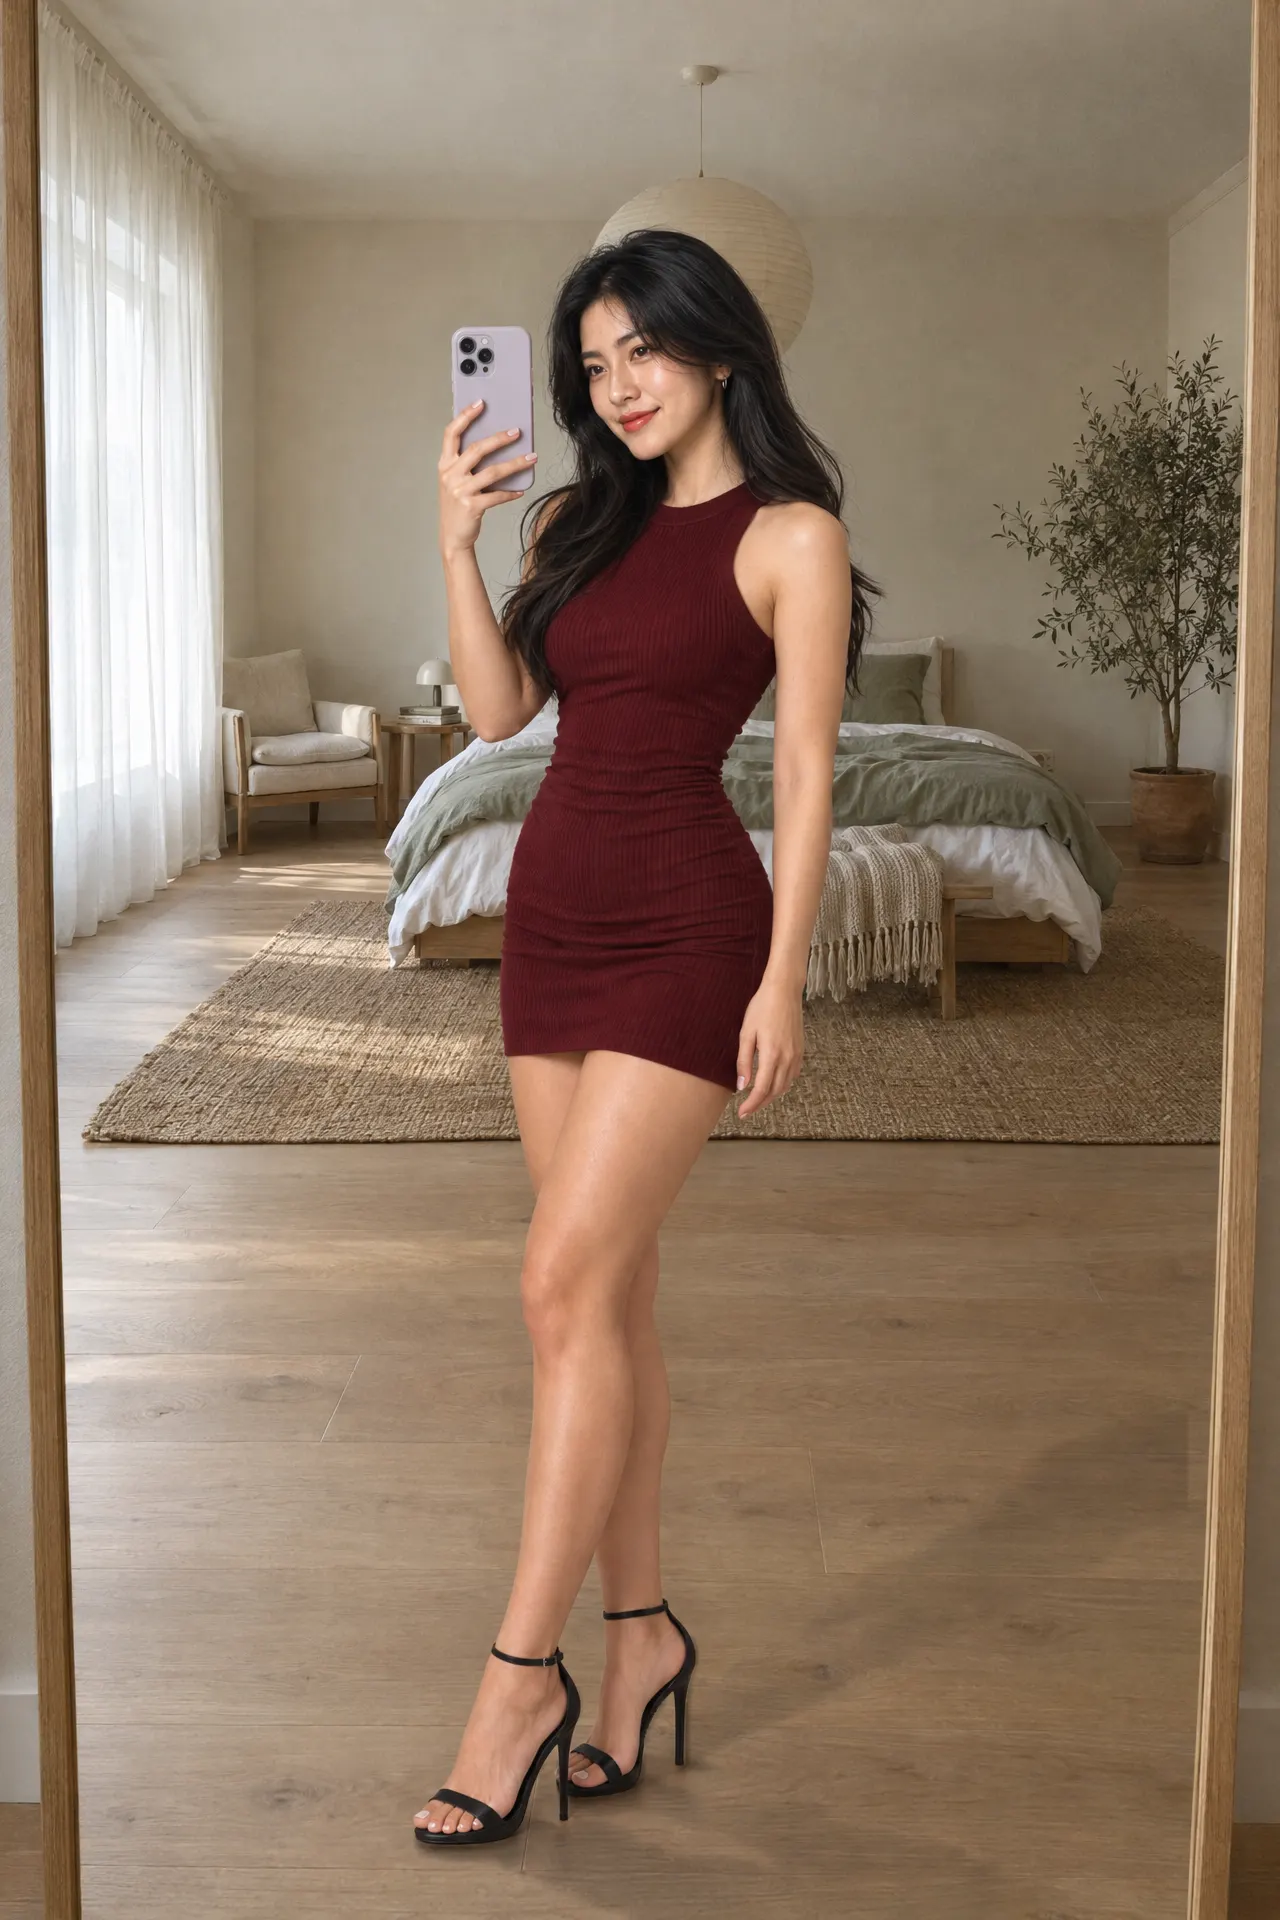
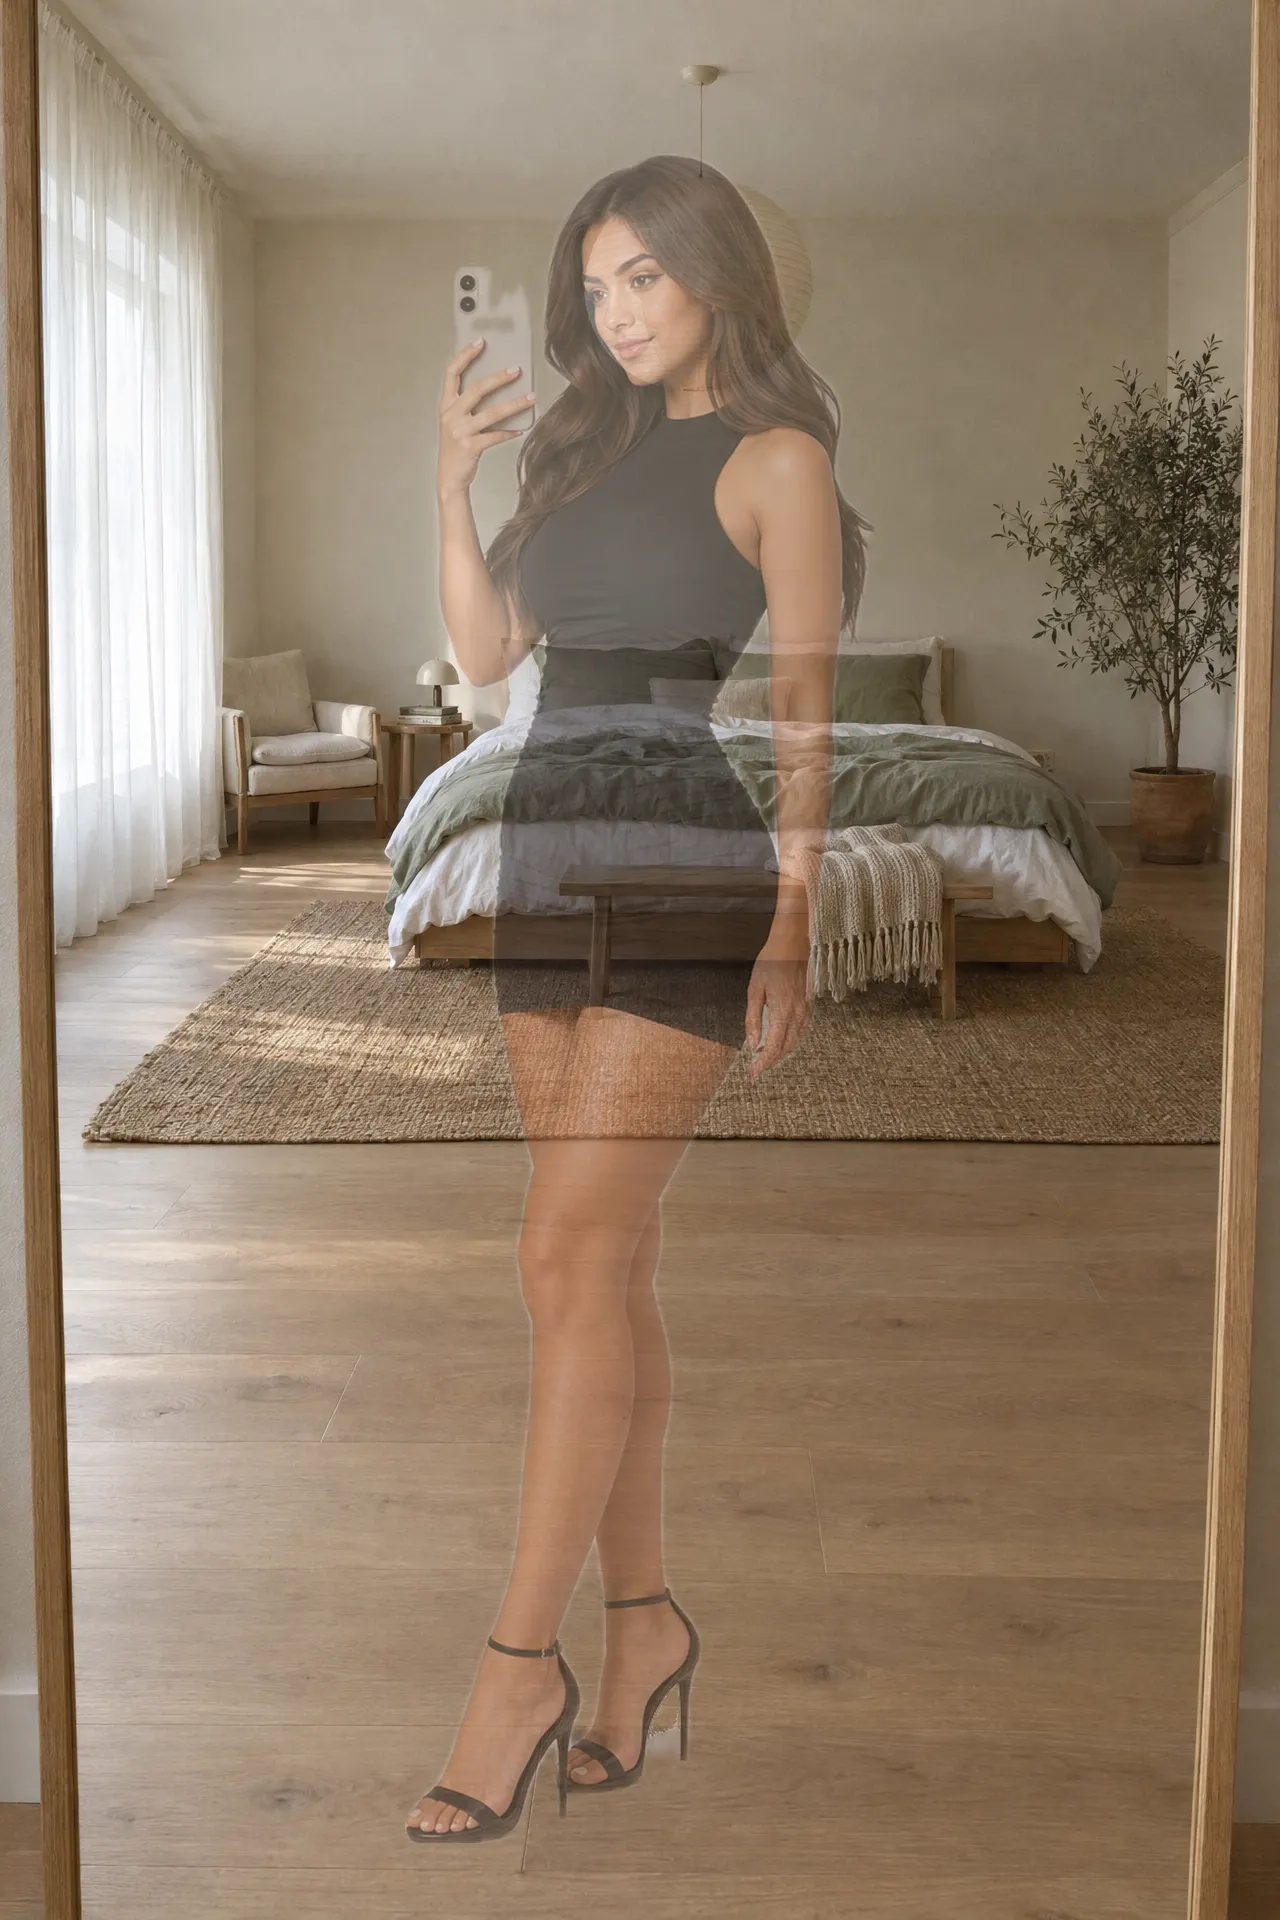
Turn your body side-on to the mirror, hold the phone at face height, and turn your head back toward the reflection.
Let the free arm hang relaxed at your side and put your weight on the back leg so the front knee softens.
The twist between shoulders and hips is the whole pose. Keep your chin level and look into the reflection.
 GuideShot
Mirror lift
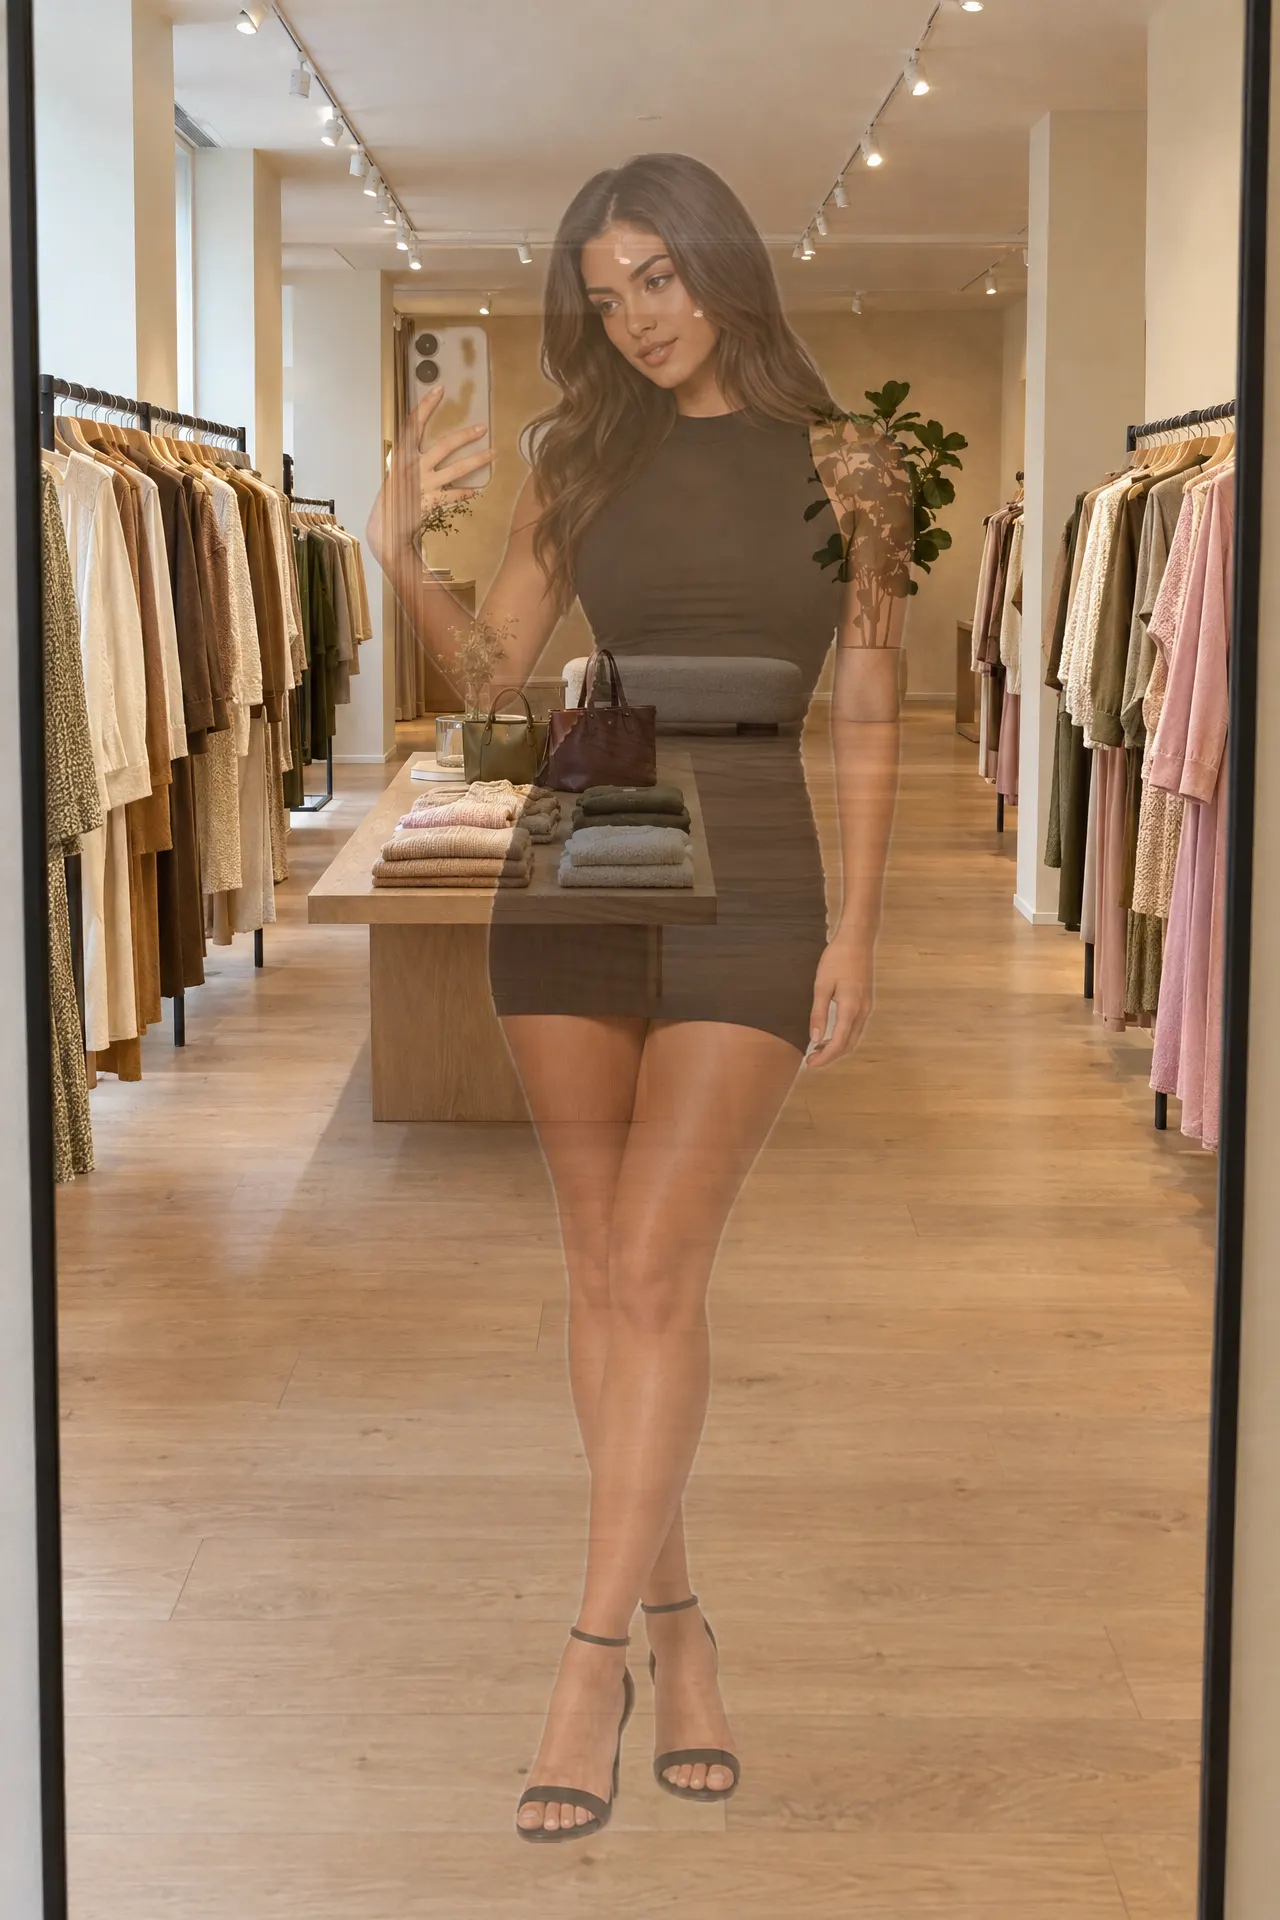
Hold the phone up at head height with your elbow bent, the screen facing the mirror, and let your other arm hang loose.
Tilt your head slightly toward the phone and step one foot forward. The small walk in the legs keeps the full-length frame from looking stiff.
A glance down toward the phone, rather than straight out, makes it read like a moment rather than a pose.
 GuideShot
Mirror drape
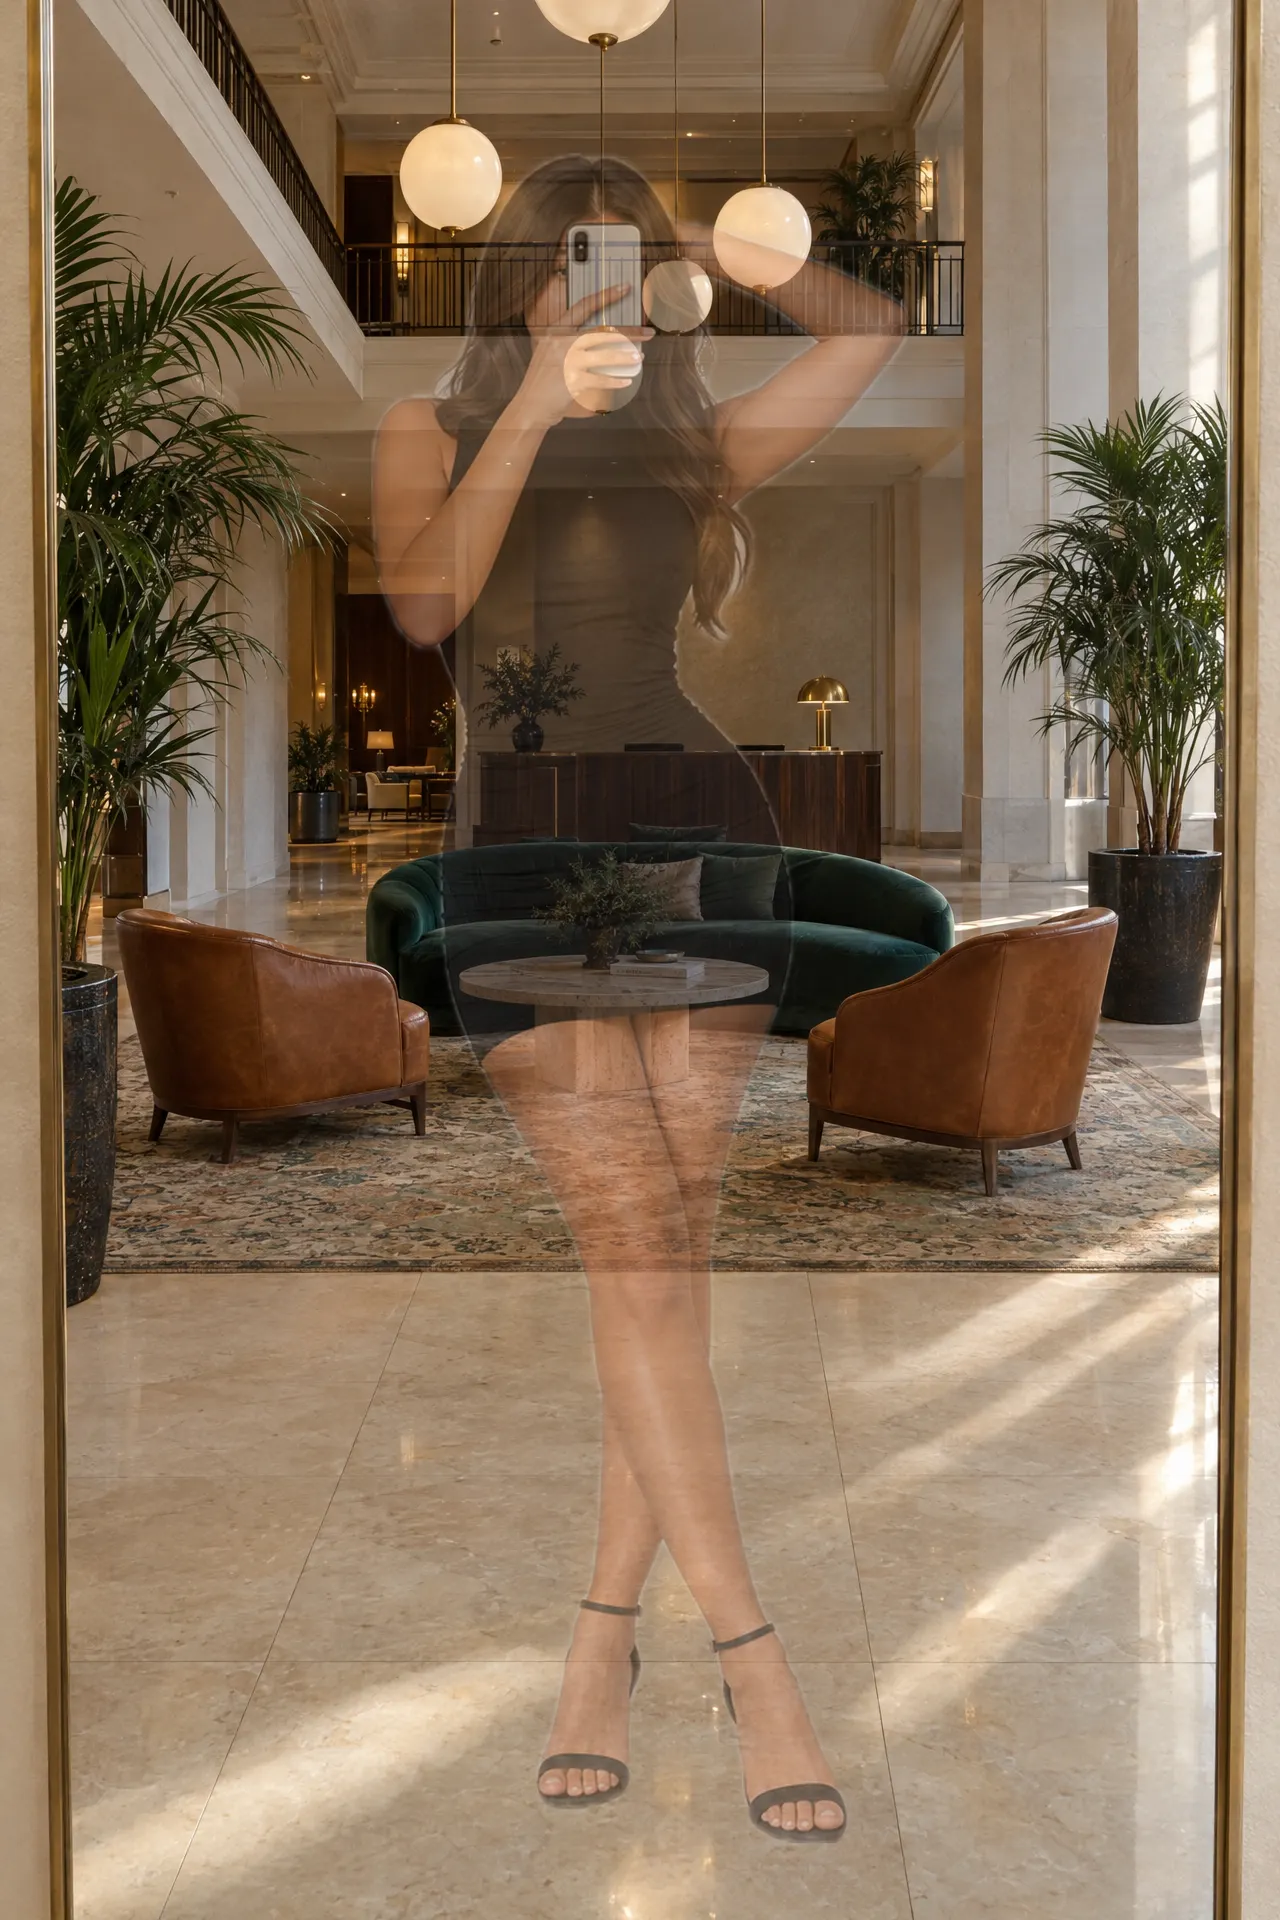
Hold the phone in front of your face so it half covers it, and drape your other arm over the top of your head.
Cross your legs at the ankle and let your weight fall onto one hip. The arm over the head and the crossed legs echo each other’s angles.
This is the one for when you do not want your face to lead the photo: the outfit and the shape do the talking.
 GuideShot
Take them into the app
Reading a pose is one thing; holding it while you also aim a phone is another. Fluence’d shows each of these eight as a translucent guide in your camera, so you line yourself up with the silhouette instead of remembering the instructions.
Open the pack below, pick a pose, and match the guide. When you are lined up, tap once.
- Open the pack in Fluence’d
- Pick a pose and see the guide in your camera
- Line yourself up with it and shoot